Cardistry for beginners: a real guide from zero
Cardistry for beginners: what it is, history with dates and names, what deck to use and a move progression that genuinely keeps you from quitting.
It is not magic and there is no trick. What cardistry is, where it really comes from and how to start without quitting in the first week.
I'll warn you from the first line: cardistry is not magic, it has no trick, and it is not going to make you a "magician" no matter how well you master a Sybil. If you came here looking to learn how to fool someone, you got the wrong door —and it's worth clarifying that now, because the confusion between cardistry and card magic is the number-one misunderstanding and it ruins expectations—. Cardistry is manipulating a deck so it moves, opens, turns and flows between your fingers without hiding anything. It is the opposite of magic: here you want them to look.
And it is, without exaggeration, one of the most addictive manual disciplines there is. What follows is checked against the documented history of the movement (Wikipedia, the Dan & Dave archives, the UnitedCardists and theory11 community) and against how this is really learned, not against the viral clip of the moment.
What it is exactly, without romanticizing
Cardistry is the art of manipulating cards for a purely aesthetic purpose: cuts, fans, displays and chained figures that are judged by how they look, not by deceiving. The word is a portmanteau of card + artistry. The magician hides; the cardist exhibits. That is the whole border, and it is sharp even though some people cross to both sides.
A shorter and more concrete history than you think
Here is a fact that surprises: the term "cardist" already appears in print on 19 December 1899 in the Portsmouth Herald, describing the "magician and cardist" Bennett Springer. Flourishes have existed for over a century —but for almost all that time they lived in the service of magic, not for their own sake—. Robert-Houdin, Hofzinser, later Dai Vernon, Cardini or Jeff McBride: the flourish was the garnish that demonstrated skill within an act. Nobody did flourishes for the flourish.
Modern cardistry —the flourish as an end— has concrete dates and names, and it's worth knowing them because they explain why decks today are the way they are:
- 1992 — Chris Kenner, Totally Out of Control. On page 125 he publishes "The Five Faces of Sybil". Yes: the Sybil, the move everyone today associates with cardistry, is born in a magic book, years before the movement existed. A detail almost nobody cites and that matters.
- 1997 — Brian Tudor, Show Off. Three VHS tapes, one of the first teaching products by a known magician dedicated only to flourishes. From it comes the Revolution Cut (a Charlier in which the top packet rotates an extra 180°). A before and after.
- 2001 — Dan and Dave Buck, Pasteboard Animations. Another flourish-only tape; the twins start to become the face of the movement.
- 2004 — The Dan and Dave System (with Kenner's help) and 2007 — The Trilogy: three discs that become the best-selling cardistry release in history, over 25,000 units. That DVD professionalizes learning on a global scale.
- 2014 — Cardistry-Con, organized by Dan & Dave: the discipline gets its own convention, competitions and a global physical community, not just forums.
In parallel, what was called XCM (Xtreme Card Manipulation) —the aggressive, "expert" style of the early days, driven by figures like De'vo vom Schattenreich, who also pushed flourish-specific decks and gear— gradually shifted towards the term "cardistry", which the community ended up preferring. Some use it to distinguish a more fluid, aesthetic style versus the more extreme XCM of the origins; it is not an official distinction, it is a community nuance. Brands and platforms like theory11, Fontaine or collectives like The Virts and Anyone Worldwide did the rest: tutorials, decks and events.
Cardistry vs magic: not the same thing and worth being clear about now
| Aspect | Cardistry | Card magic |
|---|---|---|
| Goal | Visual beauty of the movement | Create an impossible effect |
| Hiding | No: it wants you to look | Yes: it manages your attention |
| Ideal deck | Symmetrical back, good snap | Classic back, consistency between units |
| Success metric | Cleanliness and flow on camera | The spectator's reaction |
| Source of talent | Repetition and ergonomics | Technique + psychology of deception |
There is real overlap: many magicians do flourishes and many cardists know some magic (the Sybil itself proves it: it was born in a magic book). If the other side pulls you, look at the magic and card magic category. But as a discipline, cardistry is judged by aesthetics, not by surprise, and mixing the two expectations is the fast track to frustration.
What deck to use (and why the face matters less than the back)
Three rules, no half measures:
- Fully symmetrical back: it must look the same rotated 180° and, if possible, also mirrored. A back with a "top and bottom" breaks the visual cleanliness as soon as you turn packets in a Sybil or flip a spread. On camera it shows much more than in your hand.
- Stock with good snap and recovery: USPCC's standard stock with embossed finish is the classic starting point. Many cardistry runs use the crushed process (Thin-Crush): it thins the deck by about 3-4 cards and softens it, so it "feels broken in" from the first spring without the week of breaking in. That is why almost every cardist prefers it.
- The face matters little: in cardistry you barely see indices or court figures; what the eye perceives is the back in motion. That is why many flourish decks have minimalist or atypical faces. It is not a defect: it is coherence with the real use. Whoever criticizes it hasn't understood what the deck is for.
Golden budget rule: don't start with an expensive collector deck, you are going to destroy it learning —it's not a possibility, it's what happens—. Use a cheap standard deck to train and save the pretty ones to film. To decide between specific models, which deck of cards to buy will help you and, to compare brands, Bicycle vs Theory11 vs Tally-Ho. The specific offering is in the cardistry category.
Progressive guide of moves (the order is not negotiable)
Let's be honest: 90% of the people who quit cardistry do so because they jumped to a Sybil on day one, it didn't come out, and they concluded they "weren't cut out for this". The problem wasn't their talent. It was the order. This progression goes from the foundation to the flashy, and respecting it is the difference between carrying on or throwing the deck in a drawer.
Level 0 — Getting familiar with the stock
- Dribble: letting the cards fall from one hand to the other in a controlled way. It teaches you pressure and block control. Boring, fundamental.
- Spring (cascade): bending the deck and letting the cards jump in an arc to the other hand. It gives you confidence with the snap of the stock and is, by far, the most satisfying move to start with. It hooks you. Take advantage of it.
Level 1 — Displays
- Thumb fan: your first display. With the thumb you open the cards in a wide, even arc. It teaches you how the deck responds to pressure and friction. A clean fan looks professional with very little work —a good effort/result ratio so you don't get demotivated—.
- Ribbon spread: on a mat or smooth surface, you push the cards in a continuous line and then do the turnover (flipping the whole line at once). The base of countless displays.
Level 2 — One-handed cuts
- Charlier cut: the fundamental one-handed cut, the base of half of later cardistry. The thumb lets the bottom half drop and the index finger rotates the packet over the top. If you only master one from this list, make it this one.
- Swing cut: with the index finger you "swing" a packet from the top to the side and drop the rest on top. Very easy, very elegant; it is usually the first one that really "comes out" and that's why it's worth learning early: you need an early win.
- Swivel / pivot cut: a packet pivots on a finger describing a clean turn. It introduces the concept of rotation you'll need in everything advanced.
Level 3 — Chained figures (the beginner's frontier)
- Sybil cut: the classic that separates the curious from the cardist. It was born as "The Five Faces of Sybil" in Chris Kenner's 1992 book —a fact few know—. It is a multi-packet cut (classically four or five) that unfolds and recomposes into a fan, and the base of an endless number of variants (reverse, five-packet, etc.). It requires a great deal of repetition. When it comes out for the first time, it's unforgettable.
- Packet cuts: families that move 3-4 blocks in sequence. Here you stop writing letters and start writing sentences with the moves.
Level 4 — Aerials (only when the above is genuinely solid)
- Aerials: moves in which a packet travels through the air and is caught. Spectacular, yes. And risky for the deck and for your patience. They make no sense until the foundations hold up: an aerial failed a thousand times only trains you to fail and to bend cards. The viral clip doesn't tell you this.
The map of move families (so you know where you are)
A beginner gets lost because they see a hundred loose names and don't understand how they relate. They are not a hundred things; they are four families and everything else is variants and combinations. Keep it as a map:
| Family | What it is | Reference moves | When to touch it |
|---|---|---|---|
| One-handed cuts | Reorganize the deck with a single hand | Charlier, Revolution (Tudor) | From the start |
| Two-handed cuts | Packets that are dealt out and recomposed | Swing, Sybil, Hot Shot, Anaconda, Pandora (Dan & Dave) | After mastering one-handed |
| Displays / fans | Open the deck into a fan or line | Thumb fan, ribbon spread | Early, they give quick wins |
| Aerials | Packets that travel through the air | Hot shot, throwing variants | At the end, with a solid base |
There is a phrase that circulates in the community and that sums up the beginner's goal well: the Sybil is as basic for a cardist "as a blues progression is for a guitarist". It is not the ceiling. It is the floor from which you start to improvise. When the Sybil comes out without thinking, you stop spelling and start playing. That's why everyone chases it, and that's why attempting it without the basic cuts is like wanting to improvise blues without knowing where the notes are.
Your first month, day by day (a concrete plan, no frills)
A plan is worth more than a hundred loose tips. This is what I'd tell someone starting today who wants to reach the end of the month without having quit:
- Days 1-7: only spring and thumb fan. 15 minutes a day. Goal: that the stock stops scaring you and you get a fan that doesn't look like a broken accordion.
- Days 8-14: add the swing cut. It is the one that "comes out" first and you need that win not to give up. Keep warming up with spring/fan.
- Days 15-21: the Charlier cut enters, the mother cut. Practice each hand separately before joining them —golden rule of two-handed cuts—. Many get stuck here; it's normal, it's not a sign that "you're no good".
- Days 22-30: swivel/pivot cut and a very slow introduction to the Sybil, just the first section. No rush to finish it. Film yourself at least twice this week and compare with day 1.
If you reach day 30 still wanting to and with the deck in your hand, congratulations: you now know this is your thing and you've passed the filter where most people quit. The rest is well-directed repetition over years.
Common mistakes (I've seen them all)
- Jumping to the Sybil on day one. Without a solid Charlier and swing cut, you get frustrated and quit. The most expensive mistake of all.
- Speed before cleanliness. A slow, perfect move always looks better than a fast, dirty one. Speed comes on its own; cleanliness doesn't.
- The wrong deck. Starting with stiff, un-broken-in stock or an asymmetrical back makes everything harder for no reason.
- Tension in the hands. Stiffening up kills the flow and causes you pain. Fluid cardistry is born from relaxed hands, not from force.
- Not filming yourself. Your internal perception lies systematically. The camera doesn't.
- Comparing your day 10 with someone else's year 5. An express route to quitting.
A practice routine that genuinely works
- Warm-up: dribbles and springs for 3-5 minutes to loosen your hands. Don't skip it.
- One move "under construction" with full focus, 10-15 minutes, slow and conscious repetition. One. Not three at a time.
- Review of what's already mastered to consolidate and maintain fluidity.
- Frequency > duration: 15-20 min a day pays off far more than 3 hours on Sunday. This is consensus, not preference.
- Work the non-dominant hand: cross progress exists and your cardistry will be more versatile. Uncomfortable at first, profitable later.
How to film yourself (and why it isn't optional)
The camera is your best teacher and it's free. Concretely: soft side lighting so the relief of the back reads; a smooth, dark background for contrast; framing with both hands inside; and review in slow motion to catch the exact frame where the move "gets dirty". Filming also documents your progress, and that matters more than you think: the brain gets used to the new level and makes you feel stuck when you've actually advanced. The video from three months ago is the antidote to quitting.
Ergonomics and injuries (the part nobody wants to read)
Cardistry is repetitive and its load on wrists and fingers is underestimated. Tendinitis and thumb discomfort are real in those who practice daily without care. Rules: warm up beforehand, don't practice in pain, stop if you feel twinges in the wrist or thumb, alternate hands and don't force aerials when you're already tired —fatigue multiplies the bad move—. The goal is a practice that is sustainable over years, not a heroic week and a month of rest with ice.
The plateau: why you feel you're not advancing (and why you're wrong)
The viral clip doesn't tell you this and it's what makes most people quit, so let's get to it without sugar. There comes a moment —usually between week 3 and month 2— when you feel you're not progressing. You repeat the Charlier a thousand times and it "stays the same". That's a lie. What's happening is psychological, not technical: your brain normalizes the new level as soon as it reaches it, so your perception adjusts upwards at the same speed you improve and you're left with the feeling of being stuck. You are not stuck. You are advancing and measuring it with a ruler that stretches with you.
Three concrete weapons against this, in order of effectiveness:
- The day-1 video. That's why I insist so much on filming yourself. Comparing your day 30 with your day 1 is brutal and honest; comparing your day 30 with your feeling today is depressing and false.
- Changing the practice subject. If a move has you stuck and frustrated, leave it for two days and work on another. Coming back with a fresh head pays off more than grinding with rage —grinding with rage is also how you injure yourself—.
- Small metrics. "Did the spring skip any cards today?" is measurable. "Am I good?" is not and only sinks you. Measure small, concrete things.
Cardistry doesn't reward talent, it rewards well-directed consistency. The people who get far are not the most gifted on day 1: they are the ones who were still there at month 6 when their brain was telling them they weren't advancing.
Community and resources: surround yourself well or it'll take twice as long
The cardistry ecosystem is one of the most generous there is: abundant free tutorials, active communities and progressive material from makers. But there is a right way and a wrong way to use it.
- Start with moves with a clear, slow tutorial, not with the one you saw in a viral clip with no explanation. The clip is edited to impress, not to teach; copying it by ear is the fast track to technical habits that are hard to correct.
- Surround yourself with community. Forums like UnitedCardists, brand communities like theory11 or Fontaine, and the groups born around Cardistry-Con (the convention Dan & Dave set up in 2014) exist precisely for this. Honest feedback on your video accelerates more than a thousand repetitions alone, because you correct what you can't see.
- Follow one source with a progression, not twenty loose ones. Jumping from tutorial to tutorial with no thread gives you the illusion of advancing while you consolidate nothing. Better an ordered path than a chaotic buffet.
When you want to renew or level up your material, the cardistry category and the decks one have options for both starting out and filming.
Take care of your material
A deck at its optimal point lasts little if you mistreat it: clean and dry hands, zero abrasive surfaces, store it in its box, away from moisture and heat. Go deeper into how to care for playing card decks. Keeping two in rotation —one "for hard practice" and another "to film with"— lengthens the life of both and removes the temptation to film with the worn one.
What I know for sure, what depends on you, what is marketing
What I know for sure: the learning order is not negotiable; daily frequency beats sporadic duration; filming yourself is the cheapest progress tool you have; cardistry is not magic.
What depends on you: your consistency, your ergonomics, whether you compare your progress with yourself or with a YouTube professional. Talent here is, for the most part, well-directed repetition.
What is marketing: the viral clip that suggests an aerial is for beginners; the "ultimate cardistry deck"; the idea that you need expensive material to start. You don't.
Low-commitment recommendation: a cheap standard deck with a symmetrical back and good snap, and the first two moves (spring and thumb fan) for a week, 15 minutes a day, without touching the Sybil. If after that week you still want to, you now know this is your thing —and then yes, go for the cardistry category and the decks one to level up—.
Frequently asked questions
Is cardistry for beginners very difficult?
The first moves (spring, thumb fan, swing cut, Charlier) are learned in days or a few weeks with daily practice. The difficulty scales with figures like the Sybil. The curve is gentle at first and demanding later: that exact shape is what hooks you.
Do I need an expensive deck to start?
No, and it's a myth that costs money. You need a symmetrical back and good snap, not price. Start with a cheap standard practice deck and save the pretty ones to film, because you're going to destroy several learning. It's a fact, not a possibility.
Is cardistry useful for doing magic?
Not directly: they are different disciplines. Cardistry exhibits, magic hides. They share manual skill and many practice both at once (the Sybil was born in a magic book), but learning flourishes doesn't make you a magician nor the other way around.
How long will it take me to do a decent Sybil?
Weeks or months of regular practice is the realistic answer, and it's worth arriving with a solid Charlier and swing cut. Taking time is not failing: it's the absolute norm. Whoever says they got it in two days is either lying or had a prior base.
Can I injure myself doing cardistry?
Yes, from overuse if you don't warm up, practice in pain or don't rest. With good ergonomics, alternating hands and short daily sessions the risk is low and the practice is sustainable over years. Ignoring this is the most common silent mistake.
Why do some cardistry decks have "weird" faces?
Because in cardistry you barely see the faces: the spectator perceives the back in motion. Designing minimalist or atypical faces is coherent with the real use, not a defect. Criticizing it is not having understood what that deck is for.
Ready to grab a cardistry deck?
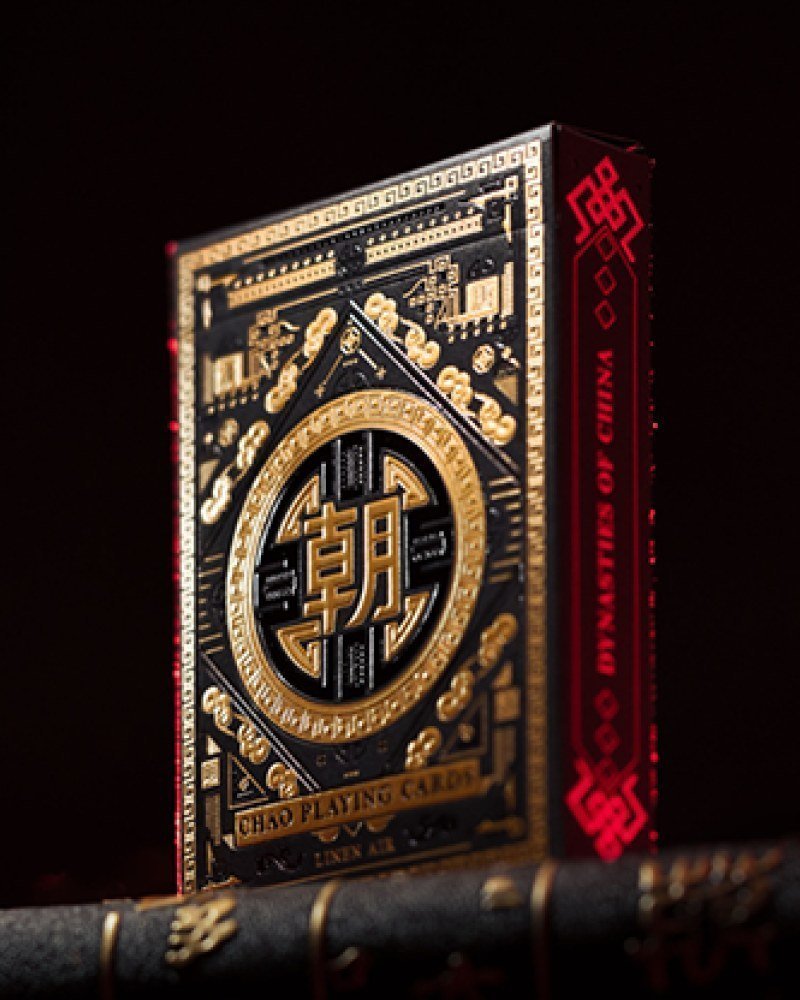
Yin Yang Chao
€18.97
Virtuoso P1 Limited Edition
€18.97
Orbit Tally-Ho Circle Back Blue
€14.01
Orbit Chroma Key
€14.01
Orbit Squintz
€11.53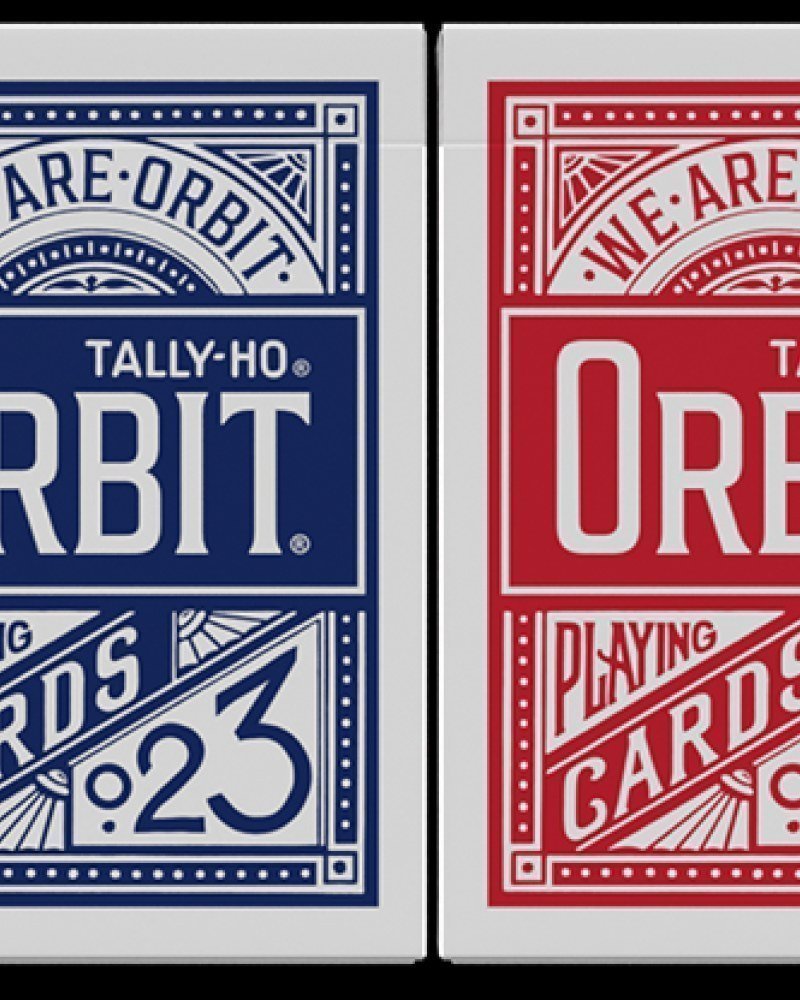
Orbit Tally-Ho Circle Back Red
€14.01
Orbit Black Hole
€14.01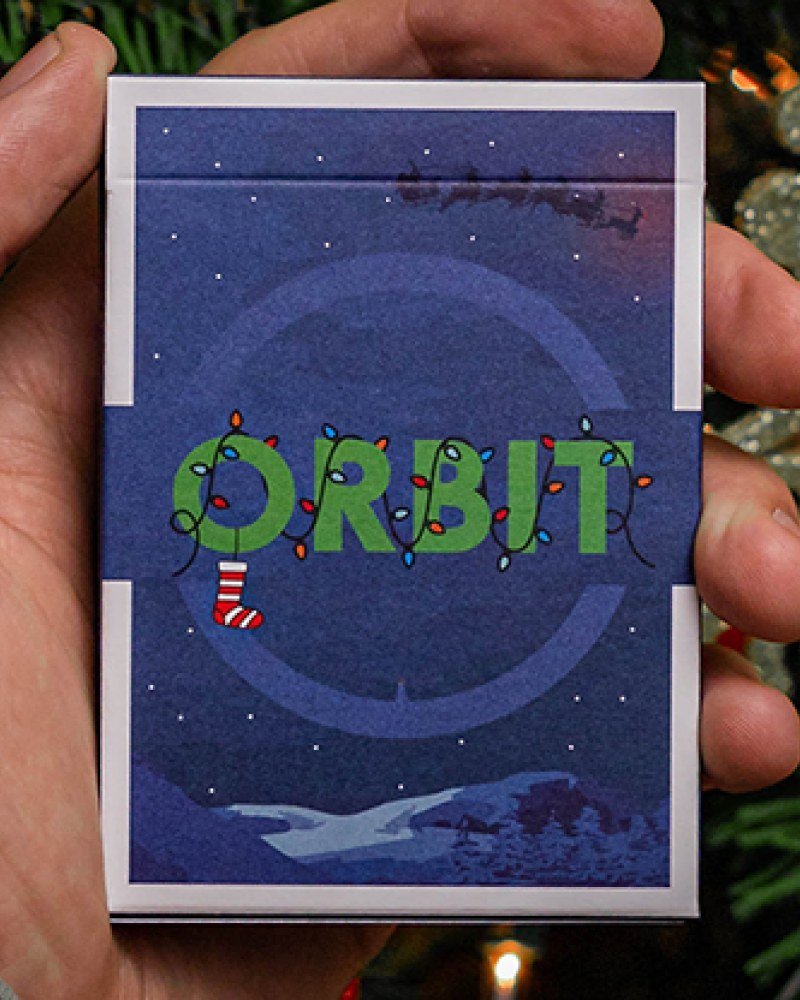
Orbit Christmas
€14.01
Orbit Christmas V2
€12.36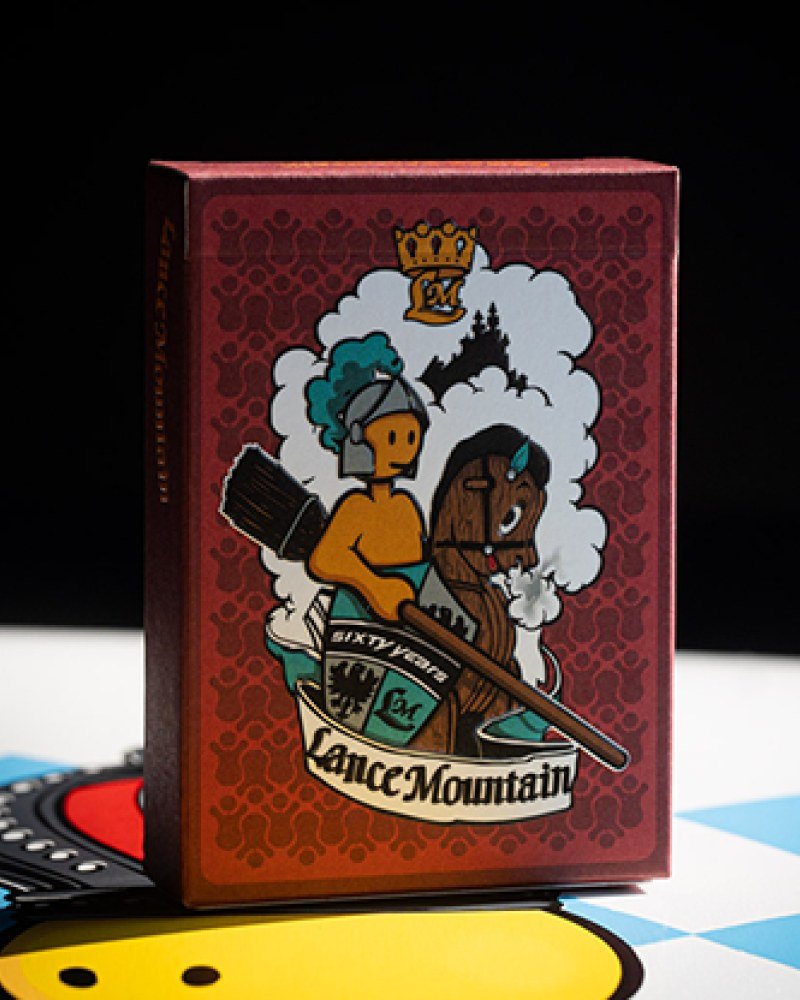
Fultons Lance Mountain Doughboy
€13.18Contact our team for any clarification about this document. Contact us